Ceilings play a very important role in home improvement, not only beautify the interior space, but also play a role in sound insulation. If the ceiling construction is not done well, it may affect future life. The construction of suspended ceilings is a very complicated process. From the preparation of construction to the end of construction, each step in the middle can be described in terms of complexity and tediousness. Then what are the steps for installing ceilings? Below, Xiaobian brings ten steps for everyone to install the ceiling . I hope to help everyone.
Install ceiling step one
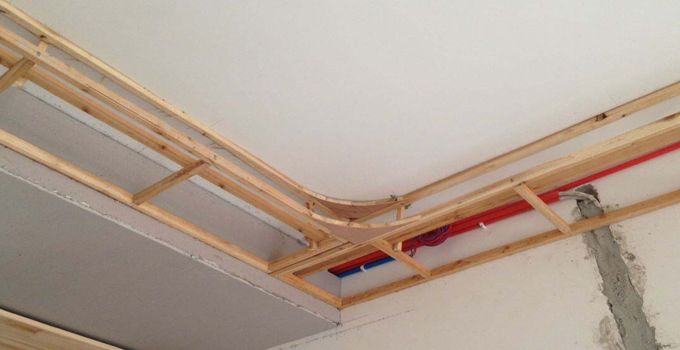
The types and specifications of materials used in ceilings shall comply with the requirements of the process. The moisture content of wood hangers and wooden keels shall comply with the current national standards and regulations. The moisture content must not exceed 12%.
Installation ceiling step two
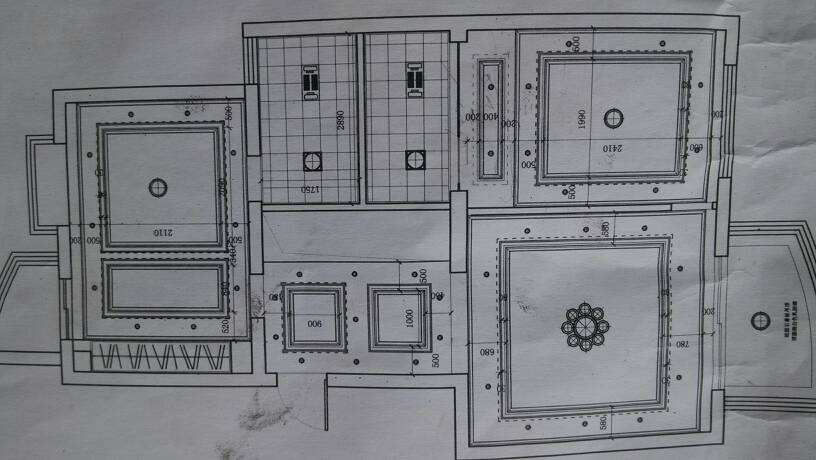
Get familiar with the drawings and follow the plan. Use a horizontal tube to copy the horizontal line and use the ink line to eject the baseline. For a partially suspended ceiling room, if the original ceiling is not horizontal, the ceiling shall be made as a horizontal or smooth roof, and shall be determined by the client after soliciting opinions from the designer.
Installation ceiling step three
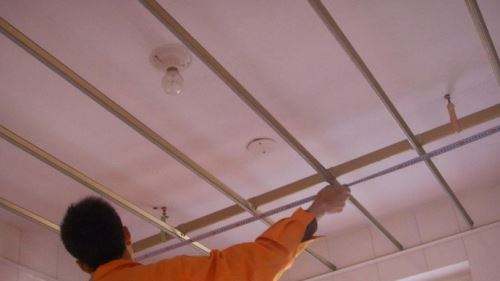
The top shape of the arc should be laid out on the ground first, and it can be lifted after it is determined to be correct, ensuring smooth lines.
Installation ceiling step four
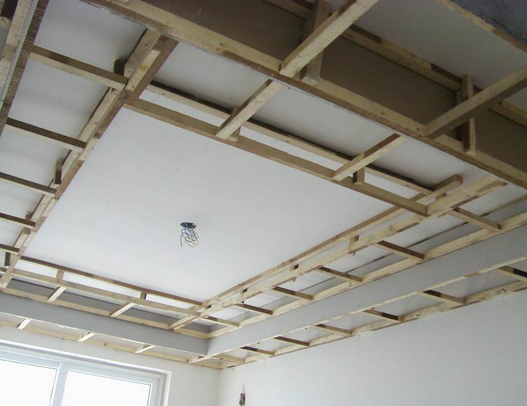
The ceiling of the ceiling shall not be lower than 3×5 wood keel, and the spacing shall be 8-1. It must be fixed and fixed with 1×8 steel, about 1m2. The expansion of the steel shall be as far as possible in the seam of the prefabricated plate. The steel expansion nut shall be pressed against the wooden keel. The main keel of the ceiling adopts a 20×40 wooden keel and is fixed with the original structure floor slab using 8×80 expansion screws. The hole depth requirement cannot exceed 60 mm. No less than 3 expansion screws per square meter, and 20*40 wooden keels for the secondary keel. The main keel and the sub keel puller are connected by a 20×40 wooden square. All the connection points must be properly fixed with iron or self-tapping screws. It is not permissible to use a single shot screw to fix them. Hanging crane must be mixed with hanging and inclined cranes. The contact between the suspender and the primary and secondary keels must be glued. The secondary keel against the wall must be fixed with an expansion screw every 800mm.
Installation ceiling step five
Before the ceiling cover of the ceiling, it is necessary to check the qualified status of each concealed project (including whether the hydropower project, the floor slab, etc. have hidden problems or incomplete conditions). Check the force condition of the dragon's skeleton, and whether the payout of the lamp position affects the closing plate or the like. The central air-conditioning indoor coil project was inspected by central air-conditioning professionals to the on-site testing machine. The bottom of the skeleton of the dragon is horizontal and flat. The error requirement is less than 1 inch. If the error exceeds 5 meters, the maximum error cannot exceed 5mm.
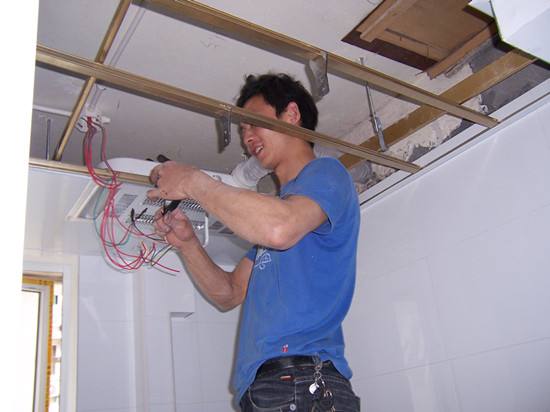
Step 6 of installing ceiling
When the ceiling surface is more than 500mm away from the original ceiling space, the boom must be properly enlarged with the main boom connected horizontally to each other.
Installation ceiling step seven
Before closing the 5 PCT board, it must be blocked according to the skeleton of the dragon to ensure that the nail is nailed to the top of the dragon skeleton. The contact point between the 5 PCT board and the dragon skeleton must be glued. The seam must be in the middle of the keel. When the 3 PCT board is closed, the bottom must be coated. After glue is full, it is affixed on a 5 PCT board, and it is fixed with a code nail. The joint with the 5 PCT board must be staggered, and the seam between 2-3 PCT boards should be 2-3 PCT.
Installation ceiling step eight
Gypsum board shall be blocked before use. When the board is closed, the adjacent board shall be sewn with 3mm, fixed with a special screw, immersed in the gypsum board 5-1mm, and the nail pitch shall be 15-17mm. The fixing should be fixed from the middle of the board to the four sides, and no more operations at the same time. There must be a keel at the intersection of the board seams.
Installation ceiling step nine
When installing the cover plate, pay attention to the lamp line pulled out of the top surface, set the downlight position on the cover panel according to the construction drawing, and pull out the thread head.
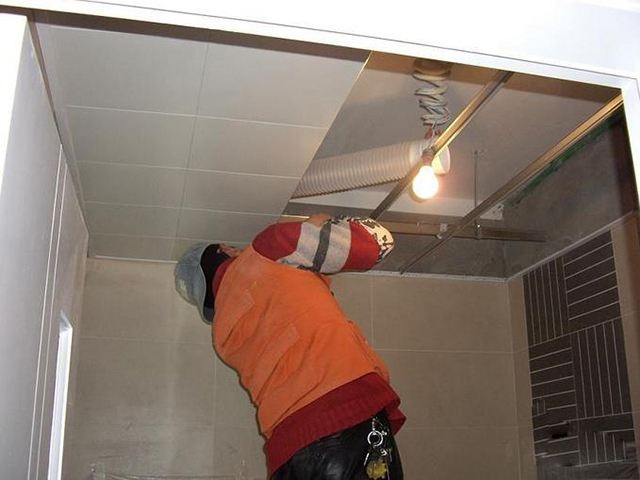
Steps to install ceiling
Check whether the level of the entire surface meets the requirements. Pull line inspection is not more than 5mm, 2m is not more than 2mm on the ruler, and the height difference of the plate seam interface is not more than 1mm.
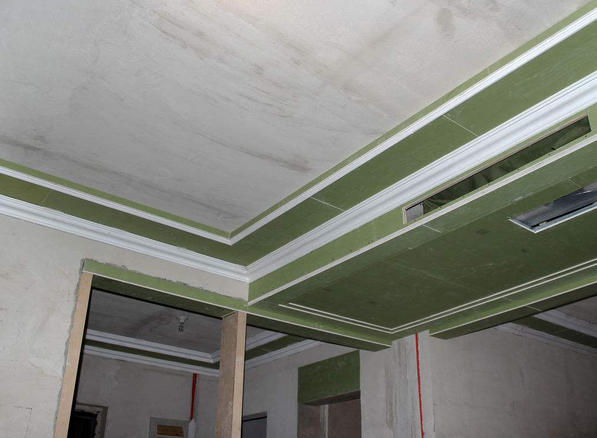
Summary: The above introduced the ten steps of installing the ceiling . I believe we also have a certain understanding of the ceiling installation. Whether it is the construction of your own home or you want to install the ceiling yourself, this knowledge can help you better grasp the construction. schedule.
Ceiling ceiling design decoration process installation ceiling
Coffee Table Set,Office Chair Or Furniture,Office Chair Mesh,Office Chair Base,Office Chair Parts
FOSHAN CITY LESHUN RONGHUI FURNITURE CO.LTD , https://www.ronghuifurniture.com